
Traditional Katana Polishing: The 6 Stages of Authentic Togi Craft for Collectors

The craft of togi, or traditional Japanese sword polishing, stands as one of the most revered and nuanced art forms within Japan’s centuries-long katana-making heritage. Japanese traditional sword art heritage. Each stage carries a unique, established technical name passed down through generations of polishing artisans, with strict rules for tool selection, hand motion, and material application.
For modern collectors focused on anime replicas, cultural display pieces, and antique sword preservation, learning the six core sequential stages of classic polishing unlocks a richer understanding of the artistry embedded within every katana. traditional Japanese katana craft collection.

Step 1 · Shitaji-togi
Shitaji-togi marks the foundational base grinding phase that opens the entire polishing sequence, relying on coarse-grained natural whetstones secured within solid wooden support jigs. After the forging and thermal shaping of tamahagane steel, raw blade surfaces hold uneven hammer indentations, faint oxidation patches, and inconsistent thickness gradients spanning the full length of the metal. The artisan’s goal during Shitaji-togi is structural calibration above all other concerns.
Guided by steady, even hand movements, the polisher slides the broad flat face of the rough whetstone evenly across both sides of the clamped blade. This gradual abrasion erases all manufacturing imperfections, flattens minor warping present in the raw steel, and creates a uniform thickness slope that tapers gently from the thick mune spine toward the fine blade face. The artisan also carves a faint preliminary shinogi ridge line, the distinct angular border separating the wide flat ji body surface and the sloped ha face of the blade. No delicate textural work takes place here; Shitaji-togi exists purely to build a perfectly level structural canvas for all later fine polishing work, a critical starting point valued by every traditional craftsperson.
Step 2 · Jizuya
Once the rough structural shaping of Shitaji-togi concludes, artisans move into Jizuya, the dedicated stage for perfecting the wide ji flat surfaces that make up the majority of the katana’s body. This phase swaps coarse grinding stones for medium-fine whetstones that deliver gentler, more controlled abrasion without altering the base geometry set in the prior step.
The core objective of Jizuya is eliminating all coarse scratch marks left by rough Shitaji-togi abrasives, while refining the absolute flatness of every inch of the ji surface. Artisans repeatedly run compact precision stones along the broad planes between the shinogi ridge and thick mune spine, frequently running a light finger along the steel to detect invisible tiny waves or uneven indentations hidden to the naked eye. A flawlessly smooth ji surface created in Jizuya is non-negotiable for later stages, as any subtle unevenness will distort how the blade’s natural jigane grain pattern appears once finishing materials are applied. This process also cleans up minor irregularities along the shinogi line, sharpening the crisp angular divide between the ji flat and ha slope without damaging the pre-shaped blade face geometry.
Step 3 · Nugui
Nugui functions as a diagnostic and preparatory stage unique to traditional Japanese togi craft, relying on a custom pigment paste blended from fine iron oxide powder, mild mineral oil, and soft polishing clay. As demonstrated in the sequential illustration, artisans dab small, controlled patches of this colored compound across the fully smoothed ji surface before lightly buffing the pigment into the steel and wiping away excess residue.
The iron oxide within the Nugui paste interacts differently with varying carbon density layers inside layered tamahagane steel. High-carbon sections absorb the pigment to take on a deep muted tone, while low-carbon steel layers remain pale and bright, creating stark natural contrast across the blade surface. This temporary color variation makes faint jigane grain patterns instantly visible, allowing polishers to spot hidden polishing scratches, tiny surface dents, or inconsistent grain flow that would otherwise remain undetectable. Beyond inspection, Nugui deposits a micro-fine textured film across the ji surface that amplifies the clarity of the hamon temper line during the subsequent Hadori stage, elevating the blade’s signature decorative visual contrast once polishing finishes.
Step 4 · Hadori
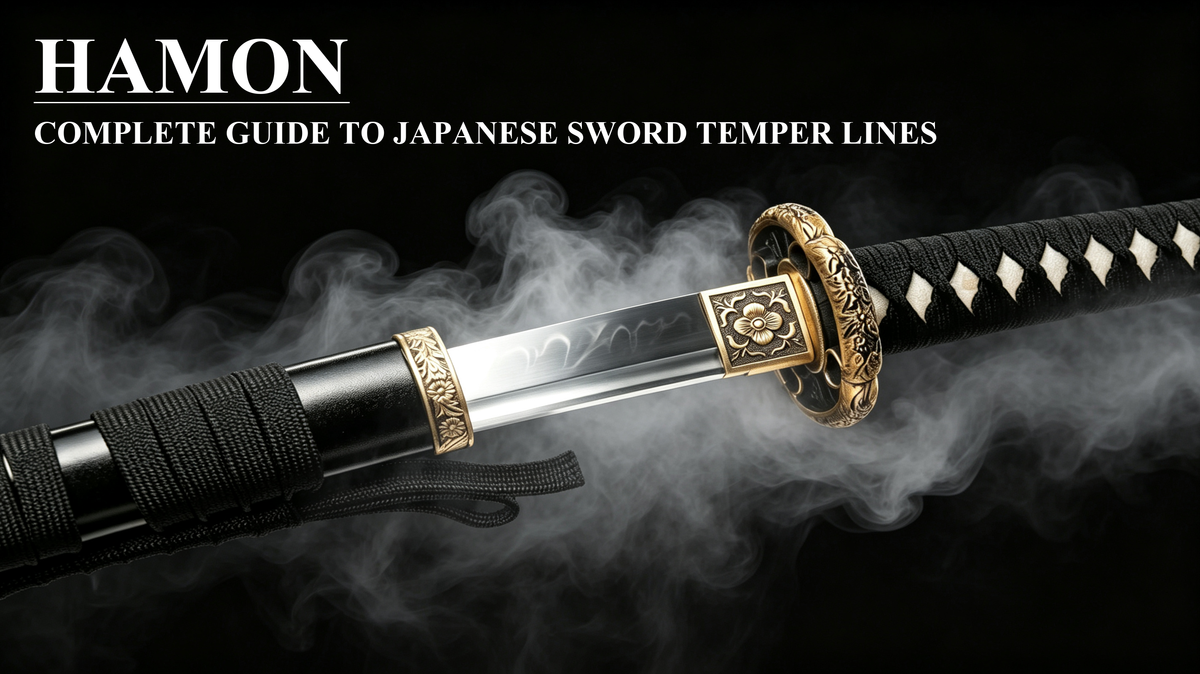
Hadori centers entirely on defining and highlighting the hamon, the delicate wavy crystalline temper line that separates the blade’s ha face from the softer ji body of the katana. Master artisans use ultra-fine edge-specific whetstones paired with soft folded leather buff pads for this phase, taking extreme care to only make contact with the narrow sloped ha face, avoiding any contact with the already refined flat ji surface.

Controlled gentle abrasion polishes the high-carbon crystalline steel forming the hamon to a bright silvery subtle luster, while the adjacent lower-carbon ji metal retains a soft matte neutral tone. This intentional light and shadow contrast brings forward every tiny intricate crystal formation embedded within the hamon, including fine textural details known as nie and nioi that define each blade’s one-of-a-kind visual identity. Hadori also smooths micro-level surface irregularities along the blade’s sloped face, refining the consistent angular gradient established during earlier grinding steps without reshaping the blade’s core form. Collectors prize well-executed Hadori work, as it makes a katana’s unique temper pattern the central decorative focal point of the finished piece. traditional Japanese sword tempering art.
Step 5 · Migaki
Migaki serves as the high-gloss surface finishing stage for all flat blade planes, utilizing thin, precision steel needle tools coated in progressively finer grades of polishing compound. As shown in the technical diagram, the narrow needle tip glides with delicate pressure along the ji flat surfaces, sharp shinogi ridge, and curved contour of the kissaki tip, erasing all faint scratch marks and pigment haze leftover from prior grinding and Nugui staining.
Unlike broad stone grinding that removes measurable layers of steel, Migaki delivers targeted, ultra-gentle surface refinement that never alters the blade’s permanent geometry shaped in earlier stages. After repeated passes with increasingly fine polishing mixtures, the ji surface develops a soft mirror-smooth reflective finish that adds subtle depth and dimension to the natural jigane grain pattern running through the tamahagane layers. This phase eliminates uneven dull haze across the entire blade body, creating a consistent neutral matte-gloss backdrop that makes the bright hamon temper line refined during Hadori stand out vividly once polishing fully concludes.
Step 6 · Kissaki-Narume
Kissaki-Narume is the final concluding polishing stage dedicated exclusively to refining the katana’s delicate pointed tip assembly, covering the kissaki cutting point, distinct yokote cross dividing line, and curved boshi temper ring wrapping the tip’s outer edge. Artisans secure the full blade within compact specialized support jigs to stabilize the fragile tip area, then use miniaturized precision whetstones and soft leather buffers to refine every angular plane of the kissaki.
This final step sharpens the clean dividing yokote line that separates the main blade body from the pointed tip, smooths the curved boshi hamon ring wrapping around the tip’s edge, and balances the grind thickness of the tip’s dual sloped faces to perfectly match the uniform geometry of the main ha blade surface. All faint leftover scratches and uneven surface texture on the tip assembly are buffed to the same consistent smooth finish applied to the rest of the katana during Migaki. Once Kissaki-Narume finishes, the complete traditional togi polishing workflow reaches its conclusion, delivering a blade with crisp defined structural lines, vivid natural hamon contrast, clear visible tamahagane grain texture, and uniformly refined decorative surfaces suited for careful display and collection.
Every phase within traditional katana togi polishing operates as an interconnected system, with no single stage able to deliver the full decorative and cultural effect of a finished blade in isolation. Rushed or incomplete Shitaji-togi work creates permanent unevenness across the ji surface; careless Hadori technique blurs the delicate one-of-a-kind hamon temper line unique to each katana; rushed Migaki refinement leaves a dull, hazy surface that mutes the beauty of layered tamahagane steel.
Authentic traditional polishing remains a labor-intensive craft requiring hundreds of hours of focused, patient work from skilled artisans. For modern enthusiasts building curated collections of anime-inspired and historically accurate decorative katana, understanding the six core togi stages deepens appreciation for the artistry and cultural heritage woven into every polished blade. Each technical term from Shitaji-togi to Kissaki-Narume carries generations of Japanese sword craft knowledge, representing a living artistic tradition preserved for contemporary collectors to study and admire.

Leave a comment
This site is protected by hCaptcha and the hCaptcha Privacy Policy and Terms of Service apply.